Art › Life drawing › Mediums ›
Ink Life Drawing (6 Experiments with Nibs & Brushes)
3 Nov 2025
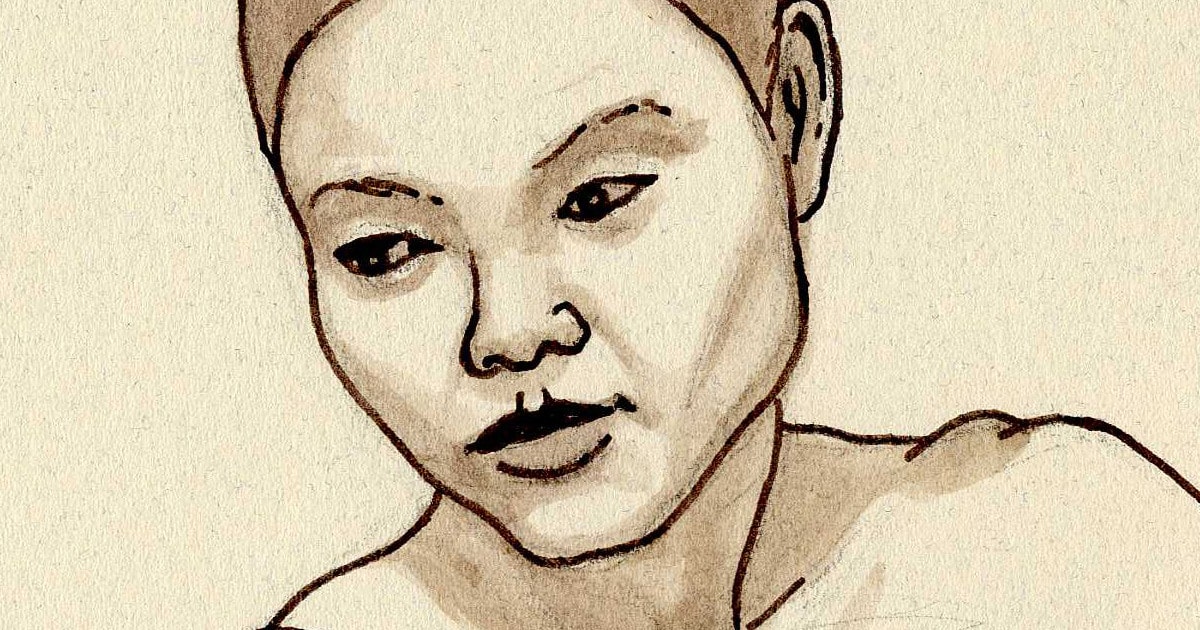
Table of contents
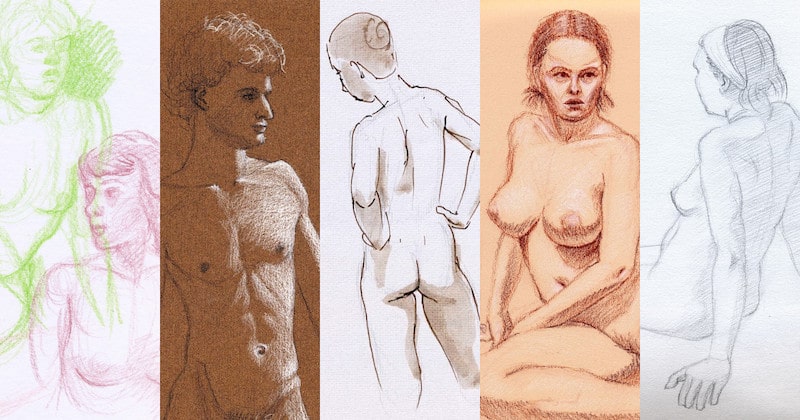
I love life drawing with ink, particularly sepia ink.
In this article, I'm going to share some of my experiments with this media and explain how they were done. That way, you can see what's possible and maybe even try some ink life drawing for yourself.
I only use basic equipment; an ink nib, a brush, and sometimes a charcoal pencil to create a light sketch first. You can also use most kinds of paper.
It's surprising how many different styles you can achieve with such a minimal setup.
Let's start with my first experiment:
Hatching With a Nib
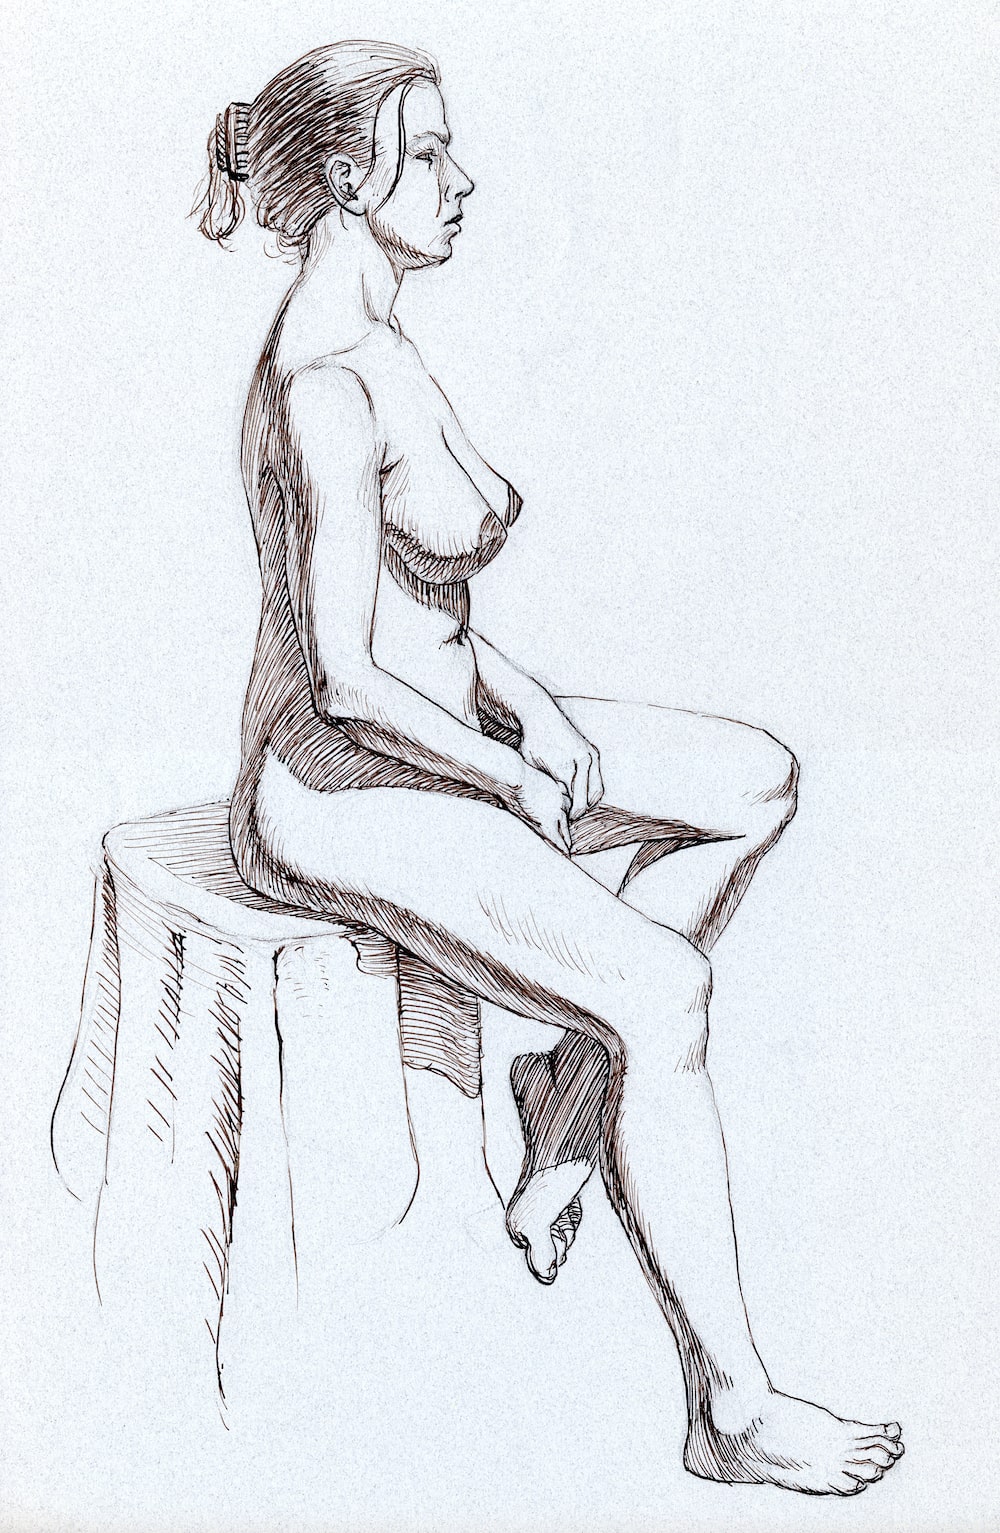
- Title
- Girl in sepia ink
- Artist
- Matthew James Taylor
- Medium
- Charcoal pencil, sepia ink
- Date
- 8 Nov 2005
- Time
- 1 hour 15 minutes
In this example, I started by drawing a light sketch with a charcoal pencil so I knew where everything was, to begin with. That way I could confidently add ink over the top without worrying about proportions, etc.
You can't delete ink once it's on your paper!
After the sketch was done, I started inking the drawing with an ink nib and full-strength ink from the bottle.
The linework consists of two parts:
Outlines
I started inking by outlining the main areas of the figure. There is not a lot of variation to the line width but I did try to use a slightly thinner line if that edge was fully lit like the top of her left leg.
Hatching
I used a hatching style to build up tones in the shadow areas. I adjusted the angle of my hatching to follow the curvature of the body and the direction of her hair.
At the terminator lines (the transition area between lit areas and shadows) I cross-hatched the lines at a slight angle to make them darker.
Overall style
This drawing comes off as quite harsh to me because the linework has a lot of contrast. It's a little messy in places too, if I was a bit neater then perhaps this harshness would be reduced. I want to practice this style some more.
The total drawing took 1 hour and 10 minutes to complete.
Using an Ink Nib Directly with No Sketch
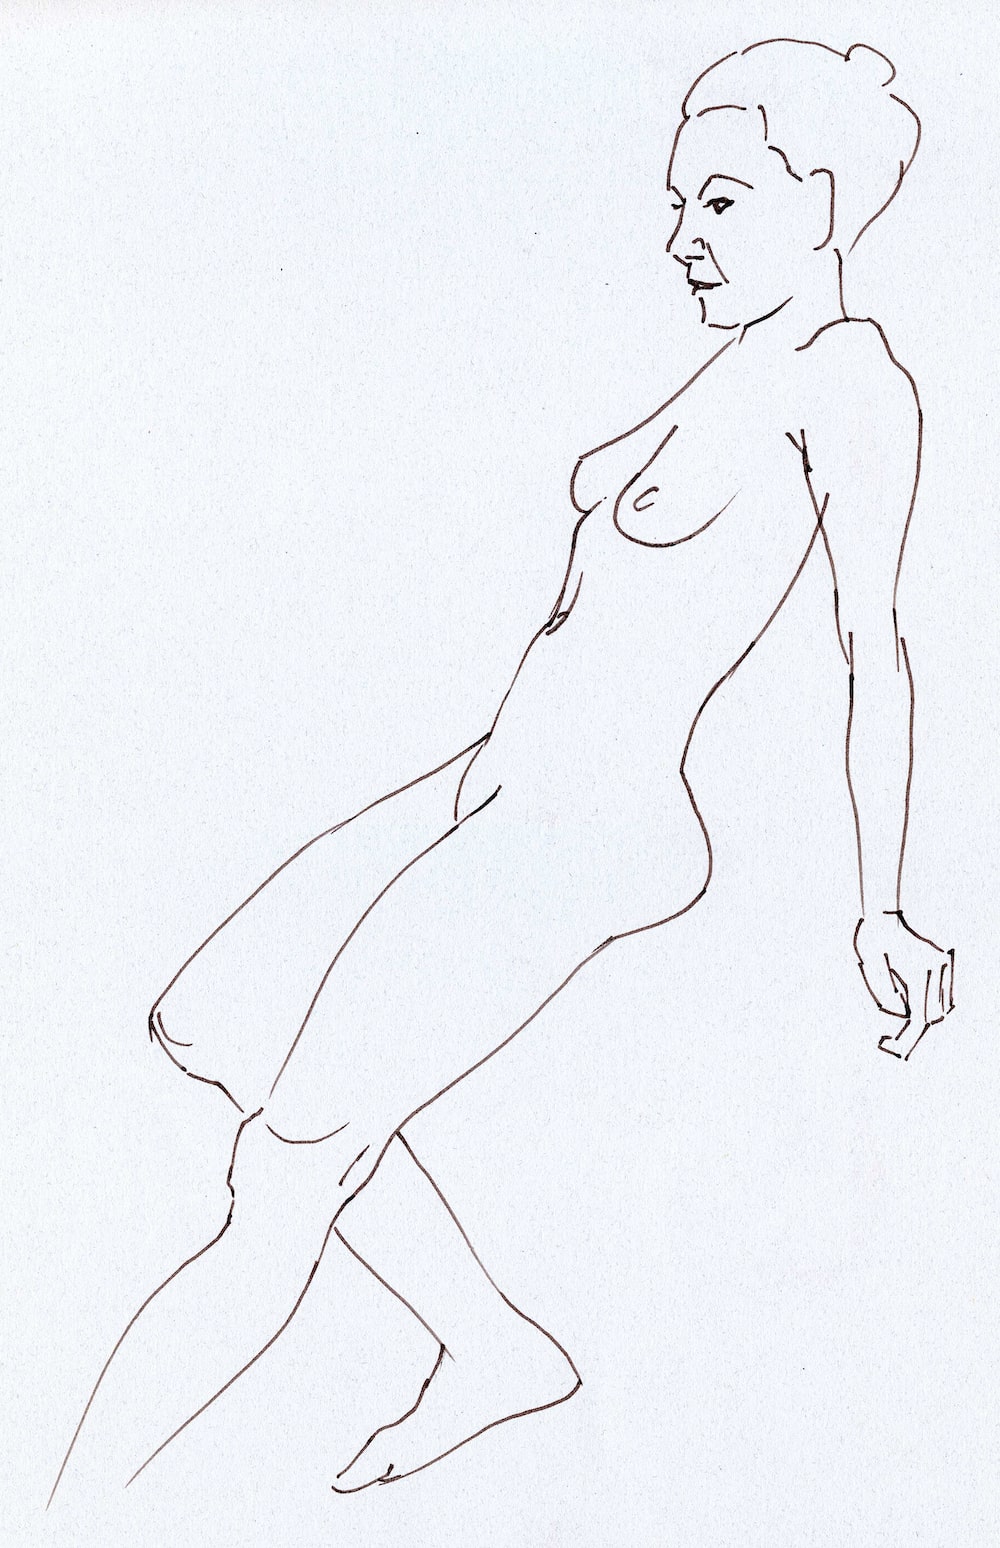
- Title
- Girl leaning back in ink
- Artist
- Matthew James Taylor
- Medium
- Sepia ink
- Date
- 15 Mar 2005
- Time
- 5 minutes
This was a fun one but also a bit of a challenge.
I didn't do a charcoal sketch first so I had to work directly on the paper with ink. There was no room for mistakes!
I approached this in an interesting way:
I imagined the model on my paper then traced this imagined-image one line at a time to make it real! That might sound strange but it is how I did it.
After drawing each line I stopped to reassess that everything was in the right place. You can see how her face and head are constructed from many short line segments, this is because it took many small steps to complete.
I did a similar thing with each line: I imagined the line on the paper first, exactly where I wanted it, then traced it with ink to make it real.
There are only about 90 individual lines that make up this drawing. At 5 minutes for the whole drawing, that works out to each line taking a little over 3 seconds. Interesting!
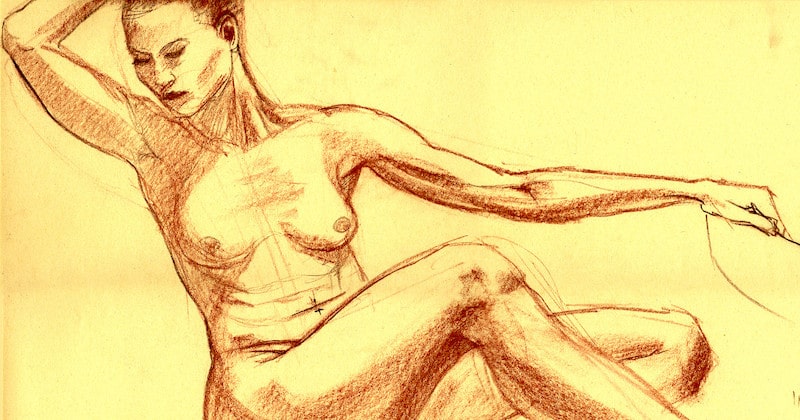
Below is another ink life drawing that was done in the same way, it also took 5 minutes:
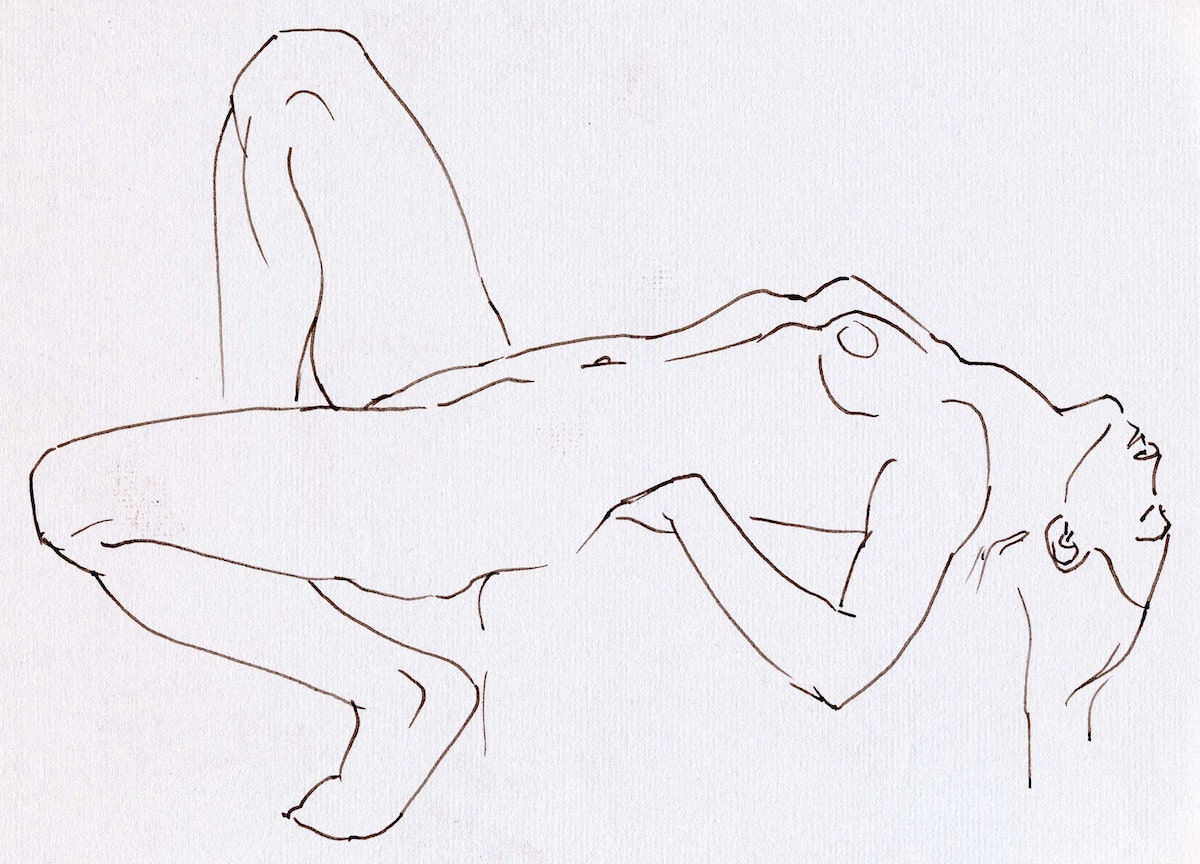
- Title
- Reclining girl in ink
- Artist
- Matthew James Taylor
- Medium
- Sepia ink
- Date
- 15 Mar 2005
- Time
- 5 minutes
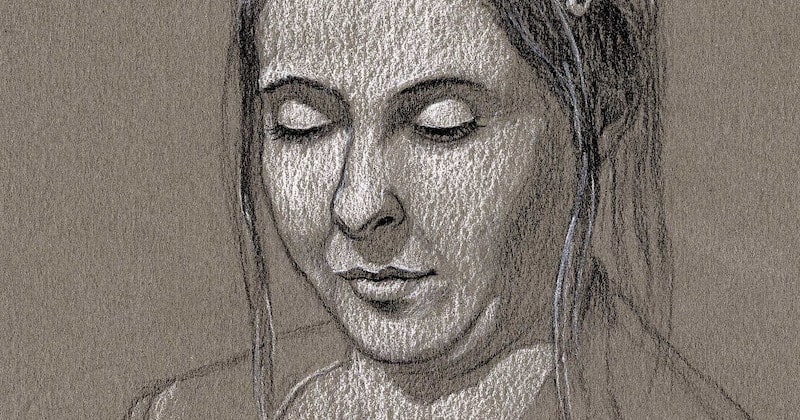
Layering Diluted Ink Tones With a Brush

- Title
- Sepia girl
- Artist
- Matthew James Taylor
- Medium
- Charcoal pencil, sepia ink
- Date
- 15 Nov 2005
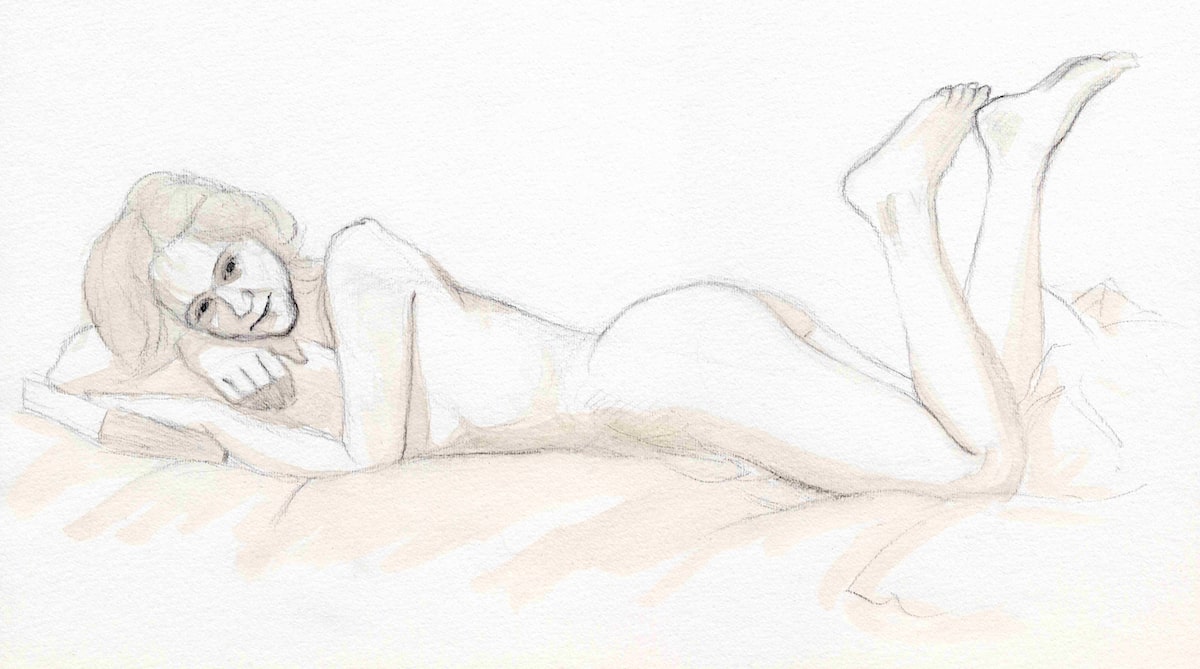
In this experiment, I wanted to avoid using strong ink lines from a nib so I worked with diluted ink and a brush instead.
I started with a light charcoal sketch to map out the figure.
I diluted some sepia ink with water to make a light tone then applied this ink wash with a small brush in multiple layers. I tried to graduate the tonal areas to create the feeling of curving surfaces in three dimensions.
I relied on my charcoal sketch showing through the ink for the linework and outlines.
This drawing has a beautiful soft feeling to it.
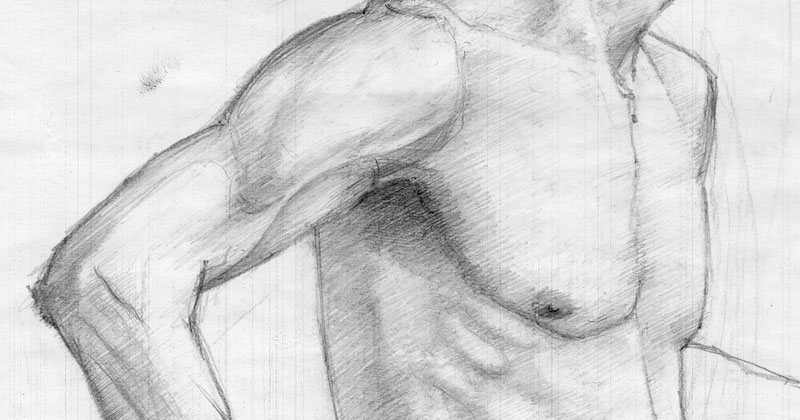
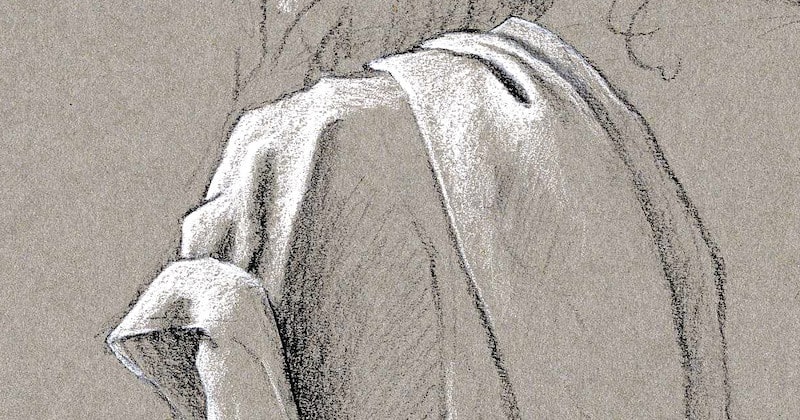
Using Flat Tonal Areas Over a Charcoal Drawing
- Title
- Girl reading in the nude
- Artist
- Matthew James Taylor
- Medium
- Sepia ink
- Date
- 10 Dec 2006
- Time
- About an hour or so
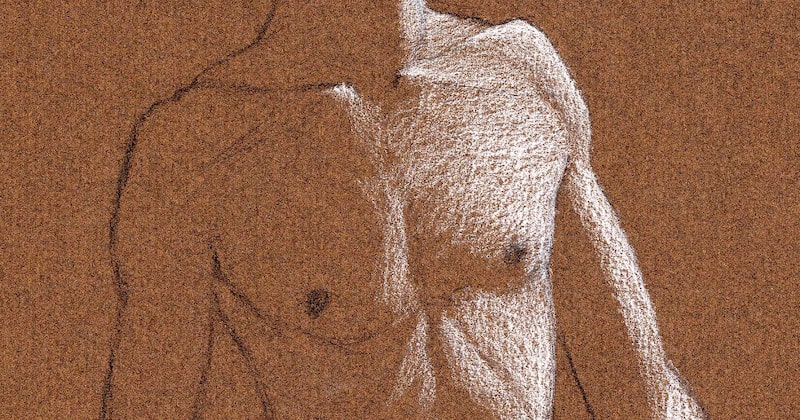
This is similar to the last experiment except the shadow areas are blocked in with flat (ungraduated) areas of tone.
Essentially this is a normal charcoal life drawing but instead of adding the shadows with charcoal, they are painted in with diluted sepia ink.
I used a very light tone so this drawing has a soft feel to it.
It took about an hour to draw.
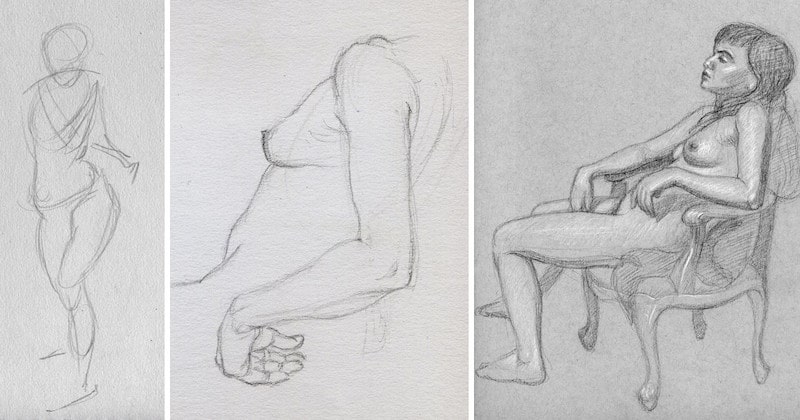
Ink Nib and Wash Over a Charcoal Sketch
- Title
- Pen and wash girls 1
- Artist
- Matthew James Taylor
- Medium
- Charcoal pencil, sepia ink
- Date
- 22 Mar 2005
- Time
- 5 minutes each
- Title
- Pen and wash girls 2
- Artist
- Matthew James Taylor
- Medium
- Charcoal pencil, sepia ink
- Date
- 22 Mar 2005
- Time
- 5 minutes each
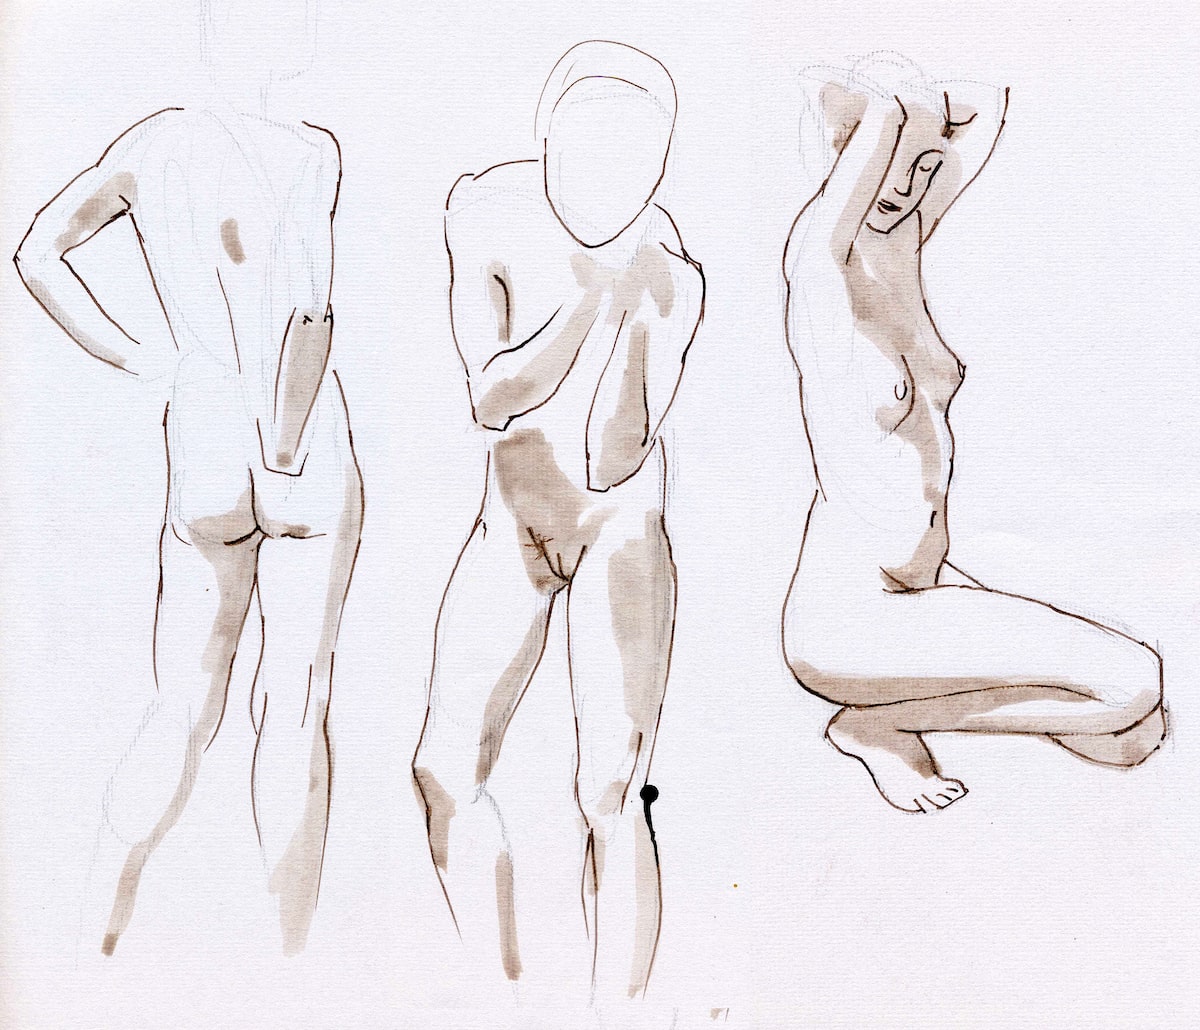
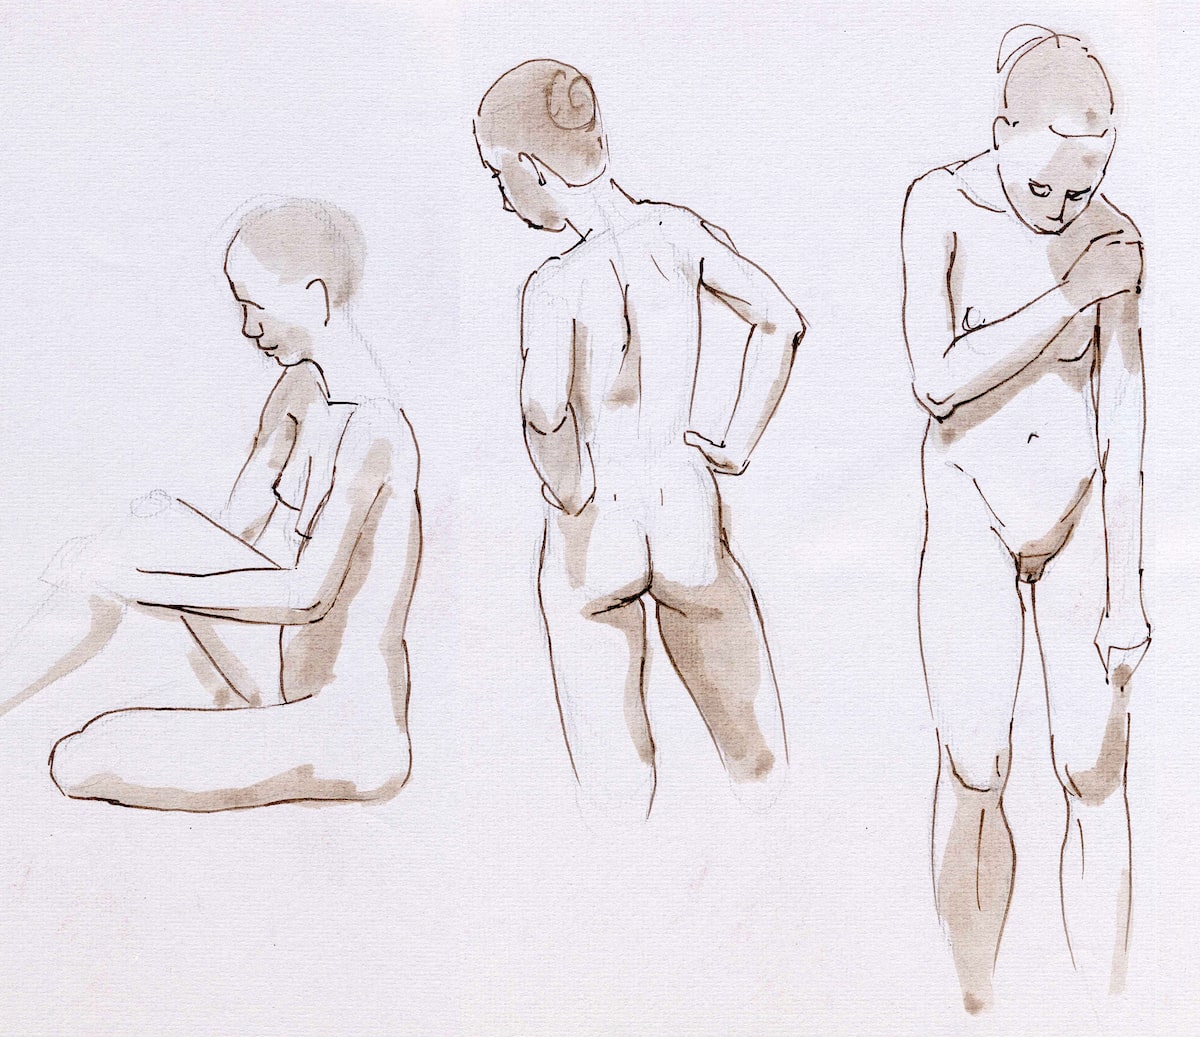
In these examples, I combined the use of an ink nib with the diluted ink wash, both over a charcoal sketch.
Each figure only took 5 minutes so I had to work quickly.
- I began with a quick one-minute charcoal sketch.
- I then blocked in the shadow shapes with diluted sepia ink using a brush. This took approximately one minute too.
- The final step was to add outlines with an ink nib using full-strength ink. I spent the remainder of the time on this.
These life drawings have a beautiful fluid feel to them because they were drawn so quickly. I want to do more like this.
Long Ink Life Drawing Study On Toned Paper

- Title
- Asian girl in pen and ink
- Artist
- Matthew James Taylor
- Medium
- Charcoal pencil, sepia ink on manila paper
- Date
- 29 Mar 2005
- Time
- 1 hour 10 minutes
With this drawing, I combined everything I had learned about the ink medium in a long pose.
I chose a manila-toned paper to add a base color.
The first step was to draw a detailed, but light, charcoal sketch to map out the whole figure.
Over this foundation, I painted in areas of tone using diluted sepia ink. The strength and graduation of these tones were built up by adding multiple layers with a brush.
To finish the drawing off I added linework with quite a thick ink nib and full-strength sepia ink. These lines give the drawing a bit of a cartoony feel.
My initial plan was to add white highlights with either white charcoal or gouache, but I didn't get enough time.
I love the overall result.
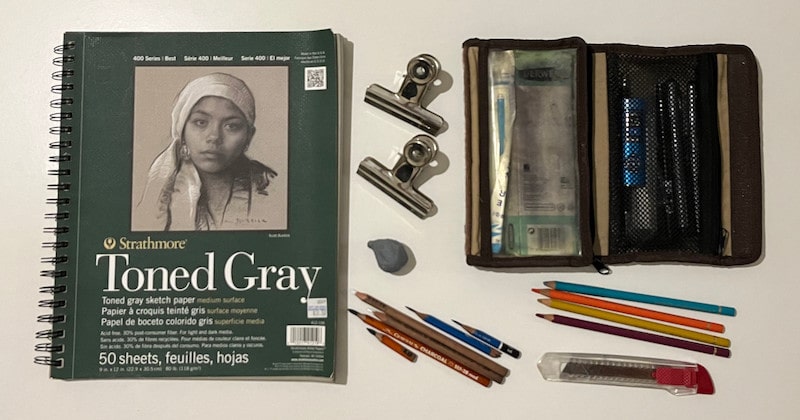
Materials List
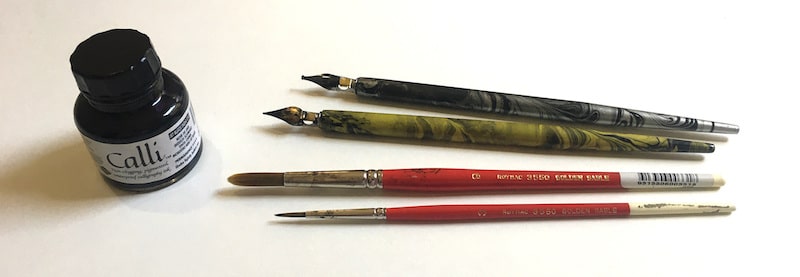
If you want to try any of the methods I've outlined above, then here are the materials I use and recommend: (Amazon links)
The charcoal pencil set is good value, it comes with the following:
- 3 × charcoal pencils (6B, 4B, 2B)
- 1 × white charcoal pencil (Perfect for highlights on toned paper)
- 1 × kneadable eraser (Bonus!)
Want to buy any of my ink life drawings? They're available on OpenSea as NFTs

Follow me on @mattjamestaylor

 Web design
 Architecture
 Life drawing
 Art gallery
 Synesthesia
 Comics