Art › Life drawing ›
Best Life Drawing Equipment (What to Bring to a Class)
3 Nov 2025
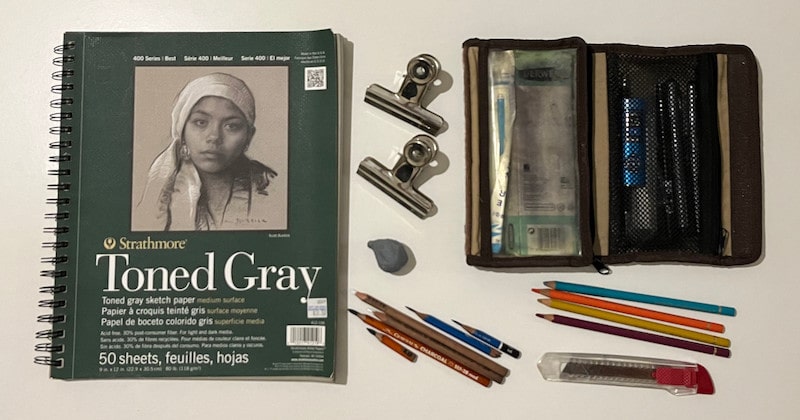
Table of contents
You don’t need much equipment to practice life drawing so it's easy to get started.
In this article, I will show you the life drawing equipment that I use and recommend. I will also provide links to where you can find them online. You can also print my life drawing checklist so you don't forget anything.
What to bring to a Life drawing class:
1. Drawing Mediums
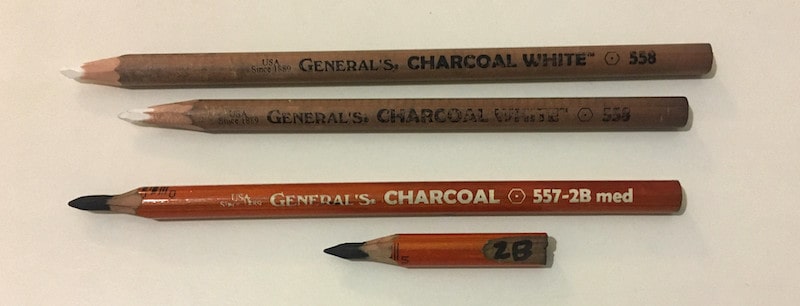
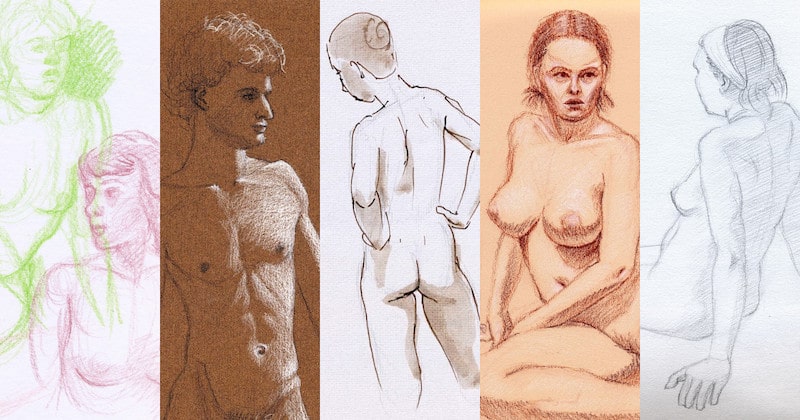
You will need something to draw with and there are so many options:
- Graphite pencil
- Charcoal
- Chalk
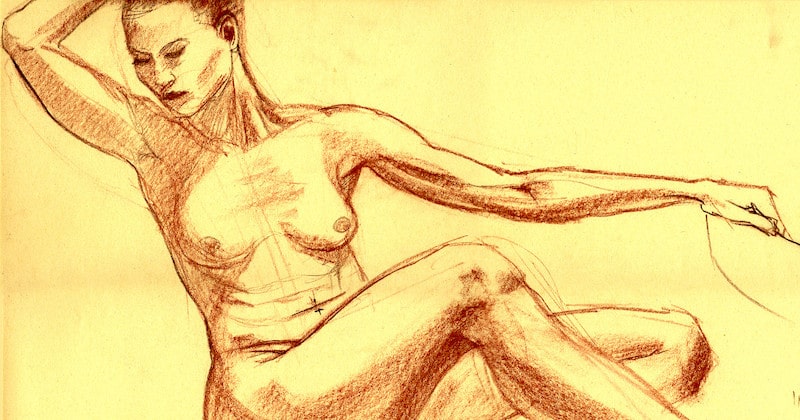
- Pastel
- Ink
- Colored pencils
- Markers
See my complete list of the best life drawing mediums.
2. Cartridge paper — in a spiral-bound A3 sketchpad
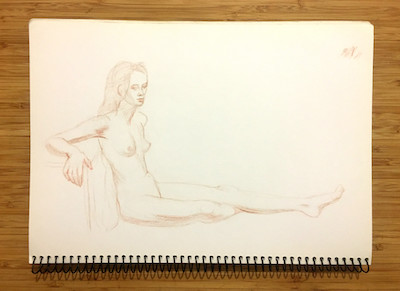
When opting for white paper, cartridge is unbeatable for the price, and when compiled into an A3 spiral-bound sketchpad I think it's perfect for life drawing.
Here's why:
- Paper thickness: Heavy enough so your drawings won't warp, fold, or wrinkle.
- Bright white: You'll get maximum contrast.
- Removable pages: Tear out pages without leaving behind an ugly torn edge.
- Hassle-free paper flipping: Rapidly turn pages without getting a bulging spine.
- Sturdy & supportive: The whole pad is thick enough to act as its own drawing board.
Here's the sketchpad I recommend: (Amazon link)
3. Toned paper — if you love to add white
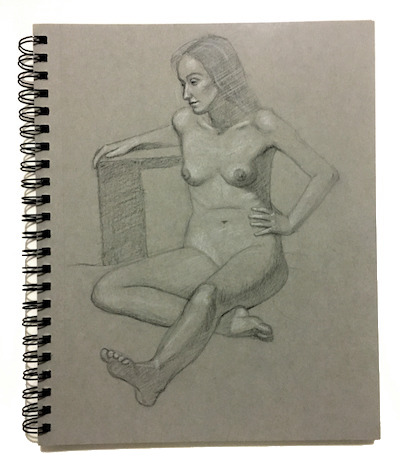
With toned paper, you can add white highlights to your drawings to make them really pop! Toned paper is any paper that isn't white, that's why your white stands out.
Toned paper normally comes in shades of gray or tan but you can get all kinds of colors too. For life drawing, I find the mid-tones are the best — not too dark, not too light.
I suggest buying single sheets if you want to experiment with different colors and shades, but for the best value, it's handy to get a full sketchpad of mid-gray.
Here's the gray tone I use: (Amazon link)
4. Bulldog clips — to secure your paper
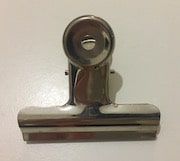
Bulldog clips are essential for securing your paper while drawing.
It's best to get a big size so you can clamp your whole sketchpad to the drawing board easily, you can use the big ones for single sheets too.
I recommend this set: (Amazon link)
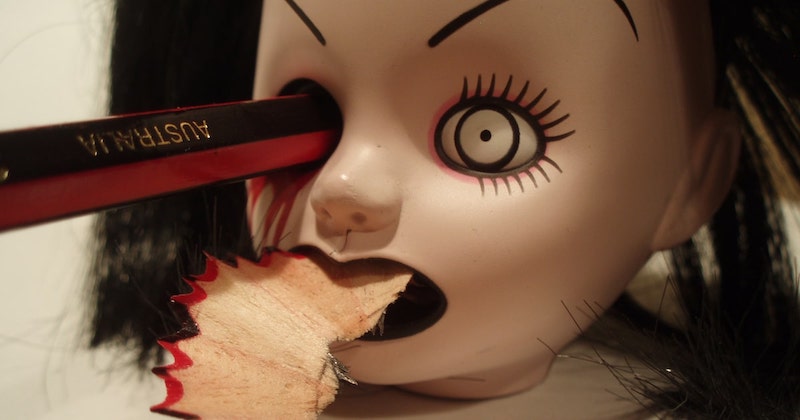
5. Utility knife — for sharpening pencils
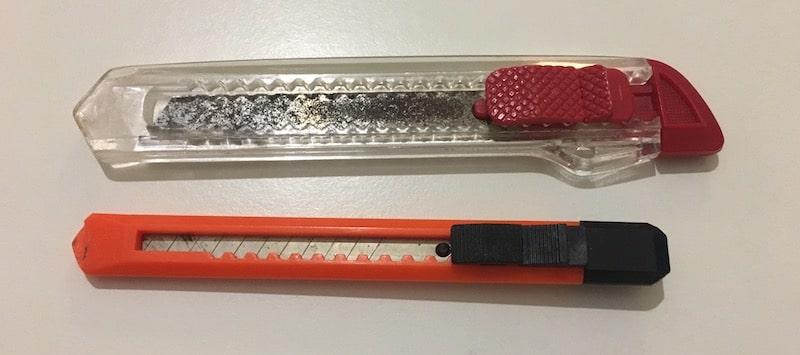
I rarely use traditional pencil sharpeners because my trusty utility knife can do almost everything I need, it's an essential item in my kit.
Knives have many benefits:
- They can sharpen any size pencil.
- They can carve many different point styles depending on your requirements.
- Dull blade segments can easily be snapped off so it always remains sharp.
- The retractable blade design makes it safe to keep in any pencil case.
Here’s the utility knife I recommend: (Amazon link)
Don't be afraid of sharpening pencils with a knife, it's easy. Browse my article: The Art of Sharpening Pencils to see how it's done, plus view my list of point styles to try.
6. Kneadable eraser — the king of erasers
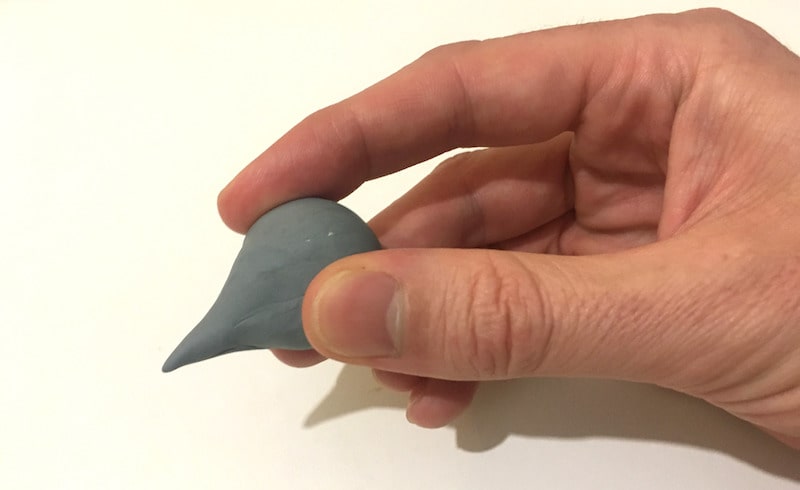
Kneadable erasers give the most amount of precision and flexibility because you can squash them into whatever shape you need.
They're brilliant for erasing tiny lines and creating dot highlights, but you can also use them to erase large areas. They are the most versatile of all erasers.
If they get dirty, just knead them for a few seconds and they will come clean!
But be careful, they look and feel a bit like Blu Tack so don't get them confused!
Here's the one I use: (Amazon link)
7. Pencil case — to keep everything together
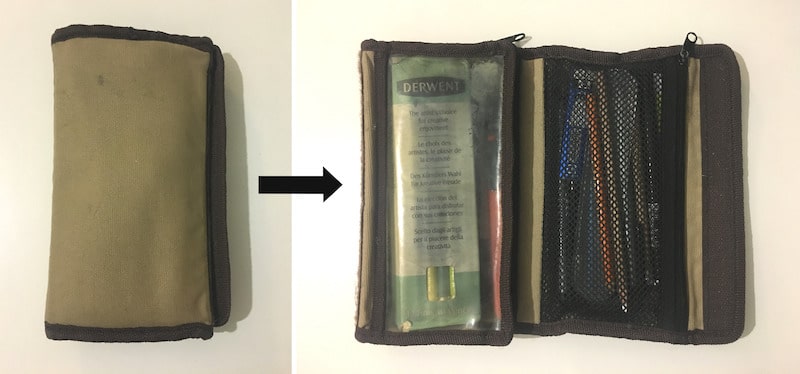
Any pencil case will do but I prefer to use one that unfolds quickly, has multiple compartments, and has transparent sides so you can see everything inside at a glance.
Here’s one that's even better than mine: (Amazon link)
8. Portfolio — (optional)
If you’re transporting lots of loose papers and drawings then a portfolio is perfect for keeping everything organized.
This is the one I recommend: (Amazon link)
9. Small hand mirror — (optional)
After working on a drawing for a long time you can stop seeing it with fresh eyes, this causes you to become blind to any mistakes. Simply pull out a small mirror and look at your drawing in the reflection, you will immediately notice if something doesn’t look right.
This one is made of strong, unbreakable acrylic material: (Amazon link)
10. Easel — (optional)
If your life drawing venue doesn't provide easels and you want to use one then you'll have to bring your own.
The best kind of easel will fit the following criteria:
- Suitable for table-top and free-standing use.
- Lightweight but sturdy.
- Folds down to a small size for easy transport.
- And cheap!
Here's one that ticks all the boxes: (Amazon link)
11. Drawing board — (optional)
Use a drawing board as a solid backing behind your paper. They come in all sizes but you need one that's bigger than your paper and smaller than your portfolio ;)
I recommend this one: (Amazon link)
Are you going to a life drawing class?
Download my printable checklist so you don't forget anything:
Life Drawing Checklist
A handy list of the most important items to bring to your life drawing class
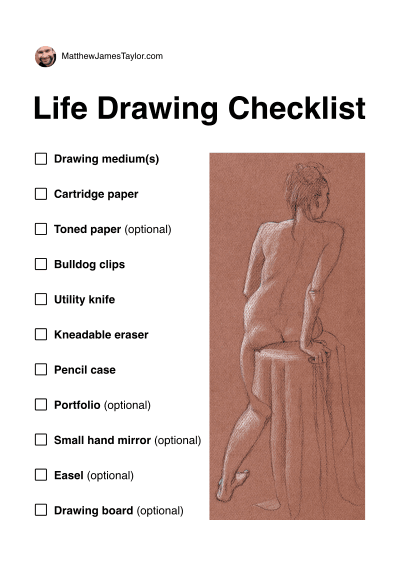
Download
(life-drawing-checklist.pdf 660kb)

Follow me on @mattjamestaylor



 Web design
 Architecture
 Life drawing
 Art gallery
 Synesthesia
 Comics