Art › Life drawing ›
The Art of Sharpening Pencils (Styles & Techniques)
3 Nov 2025
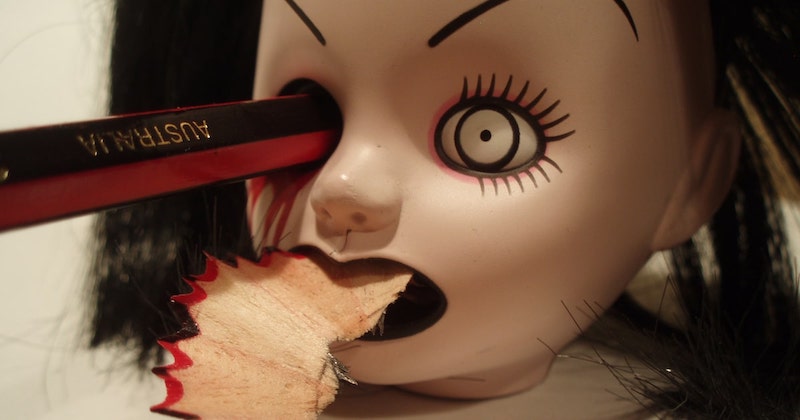
Table of contents
Welcome to the world of pencil sharpening — this may sound like a dull topic but there is a lot more to it than you think.
There are several different sharpening styles and methods that all good artists should know.
The trick is using the right one at the right time.
Pencil Sharpening Point Styles
There are four main points to select from; the one you choose will depend on the type of pencil you use, and the style of your drawing.
The Standard Point
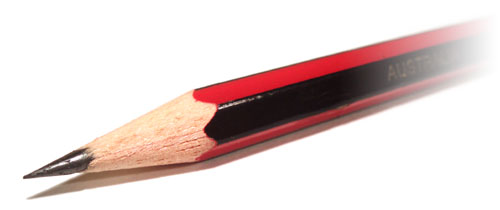
Everyone knows about this one, its trademark conical point is the most common and the most versatile of sharpening styles.
It's a good all-rounder for many reasons:
- It works for most types of pencils
- Standard pencil sharpeners are easy to find almost anywhere
- Pencils often already come sharpened in the standard point
If you don't have a sharpening knife then you probably don't have a choice, this is the point for you.
There are a few drawbacks to this style, however.
- The standard point can get blunt quickly, particularly if you are using softer pencils such as charcoal.
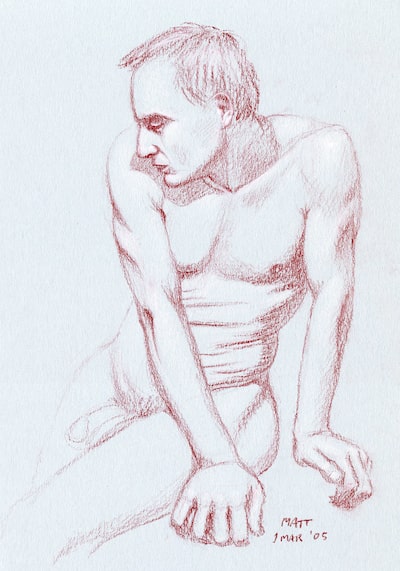
- On larger drawings you will find yourself constantly sharpening your pencil, that's not ideal if you're doing short life drawing poses.
- Often lower quality pencils will contain a smaller diameter core of graphite; if this is core slightly off-center you will find the wood comes so close to the point on one side that it's almost unusable. This can very be frustrating.
The Chisel Point
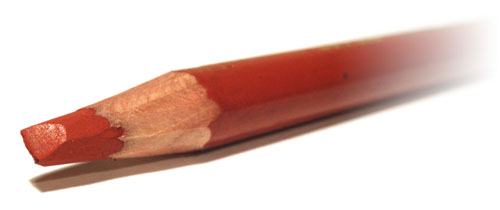
This is a rarely seen style where the end of the pencil is cut with a knife into a chisel shape.
The main benefit of the chisel is its ability to draw multiple types of marks on the paper:
- Soft, wide lines from the flat faces. These soft lines are great for rough construction at the start of a drawing and then simply turning the pencil on its edge gives you extra precision when you need it.
- Thin dark lines from along the sharp edges.
- Calligraphy style lines when the straight edge is used on an angle.
Another neat feature of the chisel point is its self-sharpening property. As you use the chisel on the faces it helps to keep the edge sharp. This means you can spend more time drawing and less time sharpening — great for softer pencils!
There are only a couple of small issues:
- The chiseled design can be difficult to master because when drawing with the flat face it's easy to accidentally roll your wrist and wear away the corners of the chisel shape.
- It can also take a bit of work to carve the chisel, to begin with.
If you can overcome these minor annoyances then the chisel point may be for you.
The Needle Point
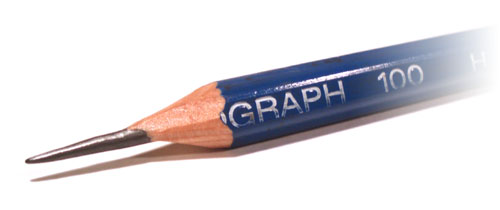
This is a specialist design that is carved with a knife into a sharp concave point. The idea is that such a fine point can wear down a long way before it becomes too blunt to use.
Here is why I love this point style:
- Precise control over lines and extra-fine detail. Great for perfectionists, like me!
- Spend less time sharpening. The long point will last a long time if you're careful with it.
But it's not without its downsides:
- The fine point is prone to breaking so it's only suitable for harder pencils.
- It can only make one type of mark, a fine line, so there is not a lot of flexibility here.
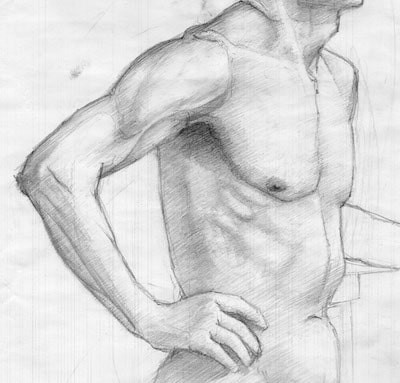
- Colouring in large sections of solid tone can be very time-consuming so you are limited to smaller-sized drawings unless you want to go insane!
The Bullet Point
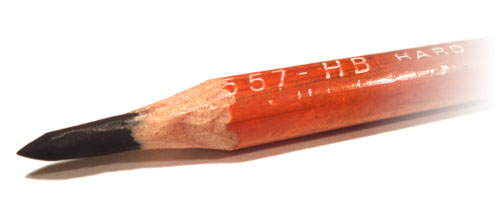
This is my favorite way to sharpen pencils and a method I devised myself.
In this style the wood is removed from the last centimeter of the pencil then the end of the lead is sharpened into a bullet shape.
Two types of marks can be made from this design:
- A soft line from the side of the bullet.
- A sharp line from the point.
Plus it has a few good properties:
- It has a self-sharpening property like the chisel point.
- It works for hard and soft pencils so it's very versatile.
- It lasts a long time so you won't need to constantly resharpen it.
There are not many drawbacks with this design:
- It can take a minute or two to carve the design, but it's not as difficult as the chisel point.
If you haven't tried this sharpening method before then I highly recommend you give it a go.
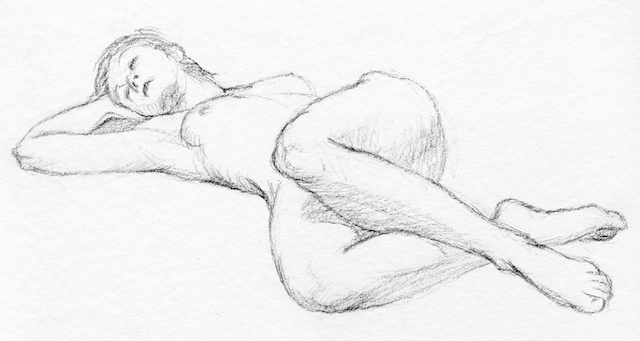
Pencil Sharpening Methods
Here are the main methods of sharpening that I use:
Traditional pencil sharpeners
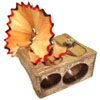
It's always handy to have one of these traditional sharpeners in your kit as a reliable backup.
If you like experimenting with lots of different media then it's a good idea to get your hands on the double sharpeners that have two different sizes, they come in metal or plastic. There are a lot of great pencils out there that are a little bigger than normal so if you forget your knife then you can still sharpen them with one of these bad boys.
Here's a good metal sharpener: (Amazon link)
Knife sharpening

A knife is the most versatile method of sharpening a pencil because you can use it to cut any styled point. It can take a little practice but it's a useful skill for an artist to master.
To sharpen a pencil with a knife, hold it in one hand over a rubbish bin with the tip pointing away from you. With your other hand, gently cut in an outward direction removing thin strips of wood and graphite. Rotate the pencil between cuts to fashion an even point. Most sharp knives can be used.
If the 'lead' or graphite keeps breaking, try cutting even finer slices at a time.
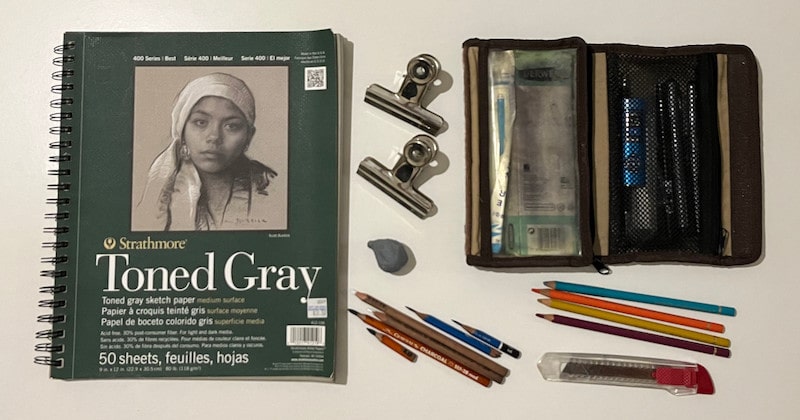
Here’s the utility knife I recommend: (Amazon link)
Using sandpaper

This is a neat little trick that I use regularly.
Try clipping a little piece of sandpaper to your drawing board and if your pencil starts getting a little blunt just run it over the paper a few times to bring the point back. This is especially useful during quick figure drawings when there is no time to get out your sharpener.
Paper wrapped pencils
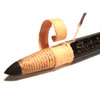
Some pencils come with their own built-in sharpening method!
With paper-wrapped pencils, simply pull back the string to cut a new segment of paper then unroll it off. This is great for messy mediums like charcoal.
The best thing about this method is you are left with the bullet point style of sharpened pencil, very nice!
Here are the paper wrapper charcoal pencils that I use: (Amazon link)
Mechanical pencil sharpeners

Mechanical sharpeners work brilliantly but can only cut the standard conical point.
To use a mechanical sharpener, simply pull out the face and clamp your pencil in place then wind the handle to effortlessly sharpen a perfect point. These are so fun to use that you might need to buy pencils more often... and don't get me started about electric varieties! ;)
Novelty pencil sharpeners

This is my favorite pencil sharpener. It's a doll's head and you stick the pencil into her eye to sharpen it. There is a little button on the back of her neck that pushes the shavings out of her mouth!
Unfortunately, it's not very practical and it only cuts in the standard conical point :(
Drawing With Short Pencils
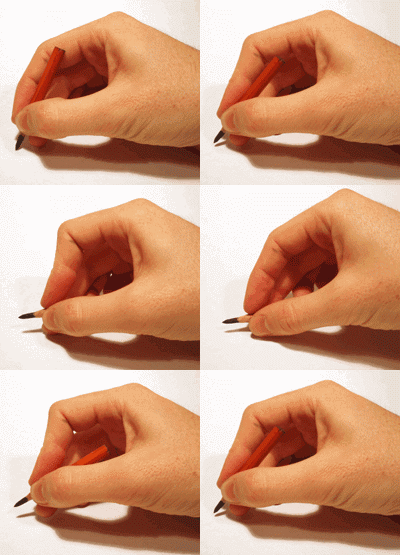
Most people throw away their pencils when they get too short but I find them easier to use.
When drawing I hold my pencil in two different ways:
- On its side for soft lines
- On its point for darker fine lines
I'm constantly swapping between these two positions as I draw and my hand gets in the way if I'm using a long pencil. With a short pencil, I can fluidly and rapidly move from side to point and back again without restriction. It's a beautiful thing!
I find shorter pencils so much better, so I have started chopping my new pencils in half after buying them. You get two-for-one that way!
One word of advice: after the chop, be sure to make a note of the hardness on the ends, otherwise, you will have all these mystery-grade pencils!
Next up:
Life Drawing: The Complete Guide ›
Read my Comics ›

Follow me on @mattjamestaylor




 Web design
 Architecture
 Life drawing
 Art gallery
 Synesthesia
 Comics